...
| Info |
|---|
Creating and using Calendars, is an advanced feature. Especially, if you’re not yet familiar with using Contentstack, we recommend to concentrate on the prepared calendars in Support → Training and News Center → Events. To avoid confusion in the administration, we strongly recommend to segment your work into these basic steps:
|
1st Step: Create a calendar
...
Internal Name | The Internal Name helps you to identify the appointment in the Contentstack list of entries.
Start date | Provide the start date and time of the appointment.
 If you do not want to add a specific start time, leave the time value to the default “00:00:00+0000”.
End date | Optionally, provide the end date and time of the appointment. If you leave the end date empty, the appointment appears as a one-day-appointment.
If you do not want to add a specific end time, leave the time value to the default “00:00:00+0000”.Display appointment start and end time | If you check this option the appointment appears with the defined start and end time. By default the option is unchecked to display appointments as all day events.
This appointment belongs to | Select the appointment filter you created beforehand.
Example: If we’re talking about the training calendar (“[Locale] Training Calendar”), the filter is the training itself and an appointment the single course of this training to which can be applied.
...
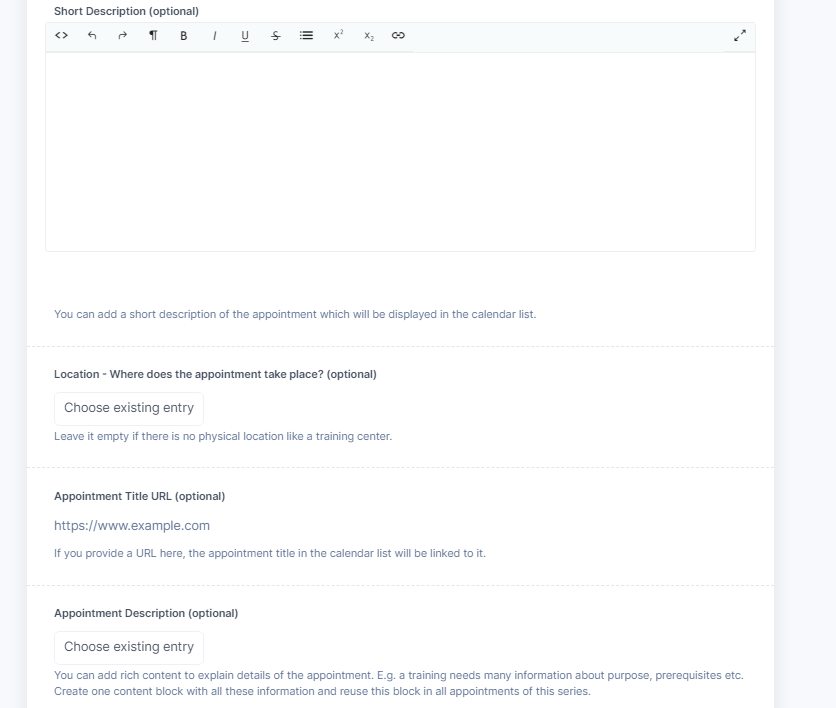
Short Description | This description will appear in the appointment list. This is mostly needed to specify some specials about the specific appointment.
Example: A specific training event will take place during the weekend and therefore, in the evening of the first day a Get Together is planned. Use the short description for mentioning this.Location - Where does the appointment take place? | Select the location where the appointment takes place. If none is defined, e.g. because it’s a virtual event, just leave this field empty.
...
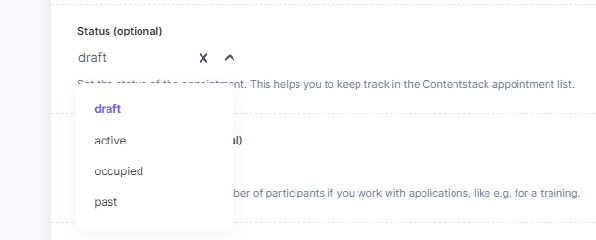
Status | Optionally, select an appropriate status from the list:

Appointment Capacity | Optionally, add the remaining number of participants.
...
Once you have created a calendar (steps 1.1 and 1.2 above), you can create a new webpage or open an existing one to include the calendar into the web page.
Create a new web page entry or open the web page entry you want to edit.
Add a H1 headline and, if needed, manipulate the URL. More details how to do this you can find in Create a web page in Organize Content in Contentstack.
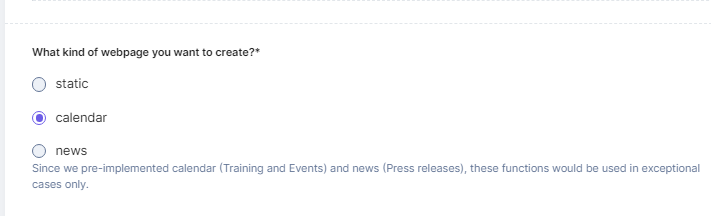
Select from the list “What kind of webpage you want to create?” the option calendar.
...
Scroll down to Calendar Configuration and select the calendar you created beforehand
...
| Info |
|---|
This is enough to create a web page with a calendar in the main content area in the middle of the page. But you have two more options to enrich the appearance of the calendar:
|
...