...
| Info |
|---|
In the following description, we will concentrate on images. Uploading and embedding videos follow the same steps. The maintenance of documents will be described in a separate section of the manual. |
...
Step 1: Create an Entry
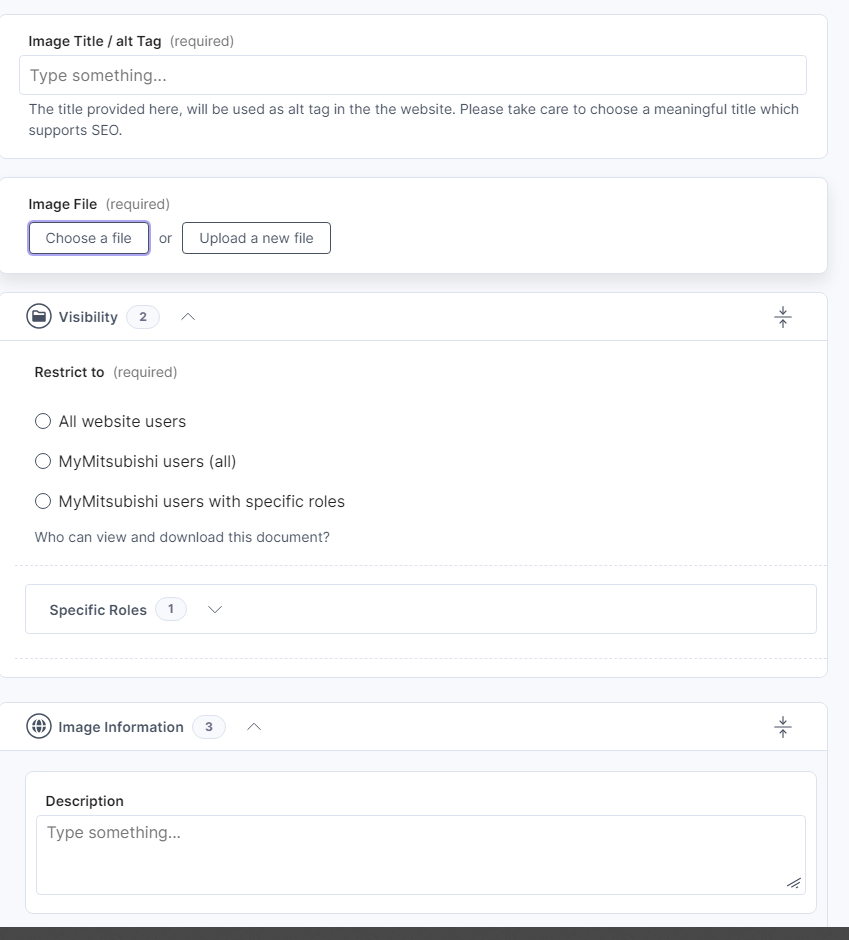
Select the Content Type “Image” or “Video” from the list of Content Types and click “+ New Entry” at the top right. In the form that opens, please provide
...
If you have already uploaded the file directly to the Assets library, click “Choose from uploads”.
Step 4: Define Visibility
If you want to show the image on the website, please always use “All website users”.
Step 5: Save the Entry
After completing the entry, you can save the Entry.
...
The image is the wrong one for the specific webpage, it belongs to another page. → The image has to be kept and the connected Content Type Entry should not be changed.
Select in the Content Type where the image has been embedded (e.g. in Content Blocks) another Entry of “Image” or create a new one.
→ Click the cross icon at the right of the reference and click either “Choose an existing entry” or “Create a new entry”.Leave the Entry of “Image” that has been referenced before unchanged.
Case 2 - change an image in all places
...
| Note |
|---|
Be careful with changing of an image in all places! We recommend to check if the Entry is referenced in multiple places beforehand. → https://freshcells.atlassian.net/wiki/spaces/MFADEXT/pages/2532933791 |
Open the Entry in “Image” with the wrong image file and change the file.
→ Click the edit icon at the right of the reference. The detail view of the asset opens in the Assets library. In here, click “change file”.(optional) To keep Assets clean, search for the misleading file in Assets and delete it.
These steps apply identical to “Videos”.